 Photo by
 Last year I wrote macOS Environment Setup for MAUI Development for the JetBrains .NET blog, and while many folks have told me they still find it helpful, it is, admittedly, out of date. So in this post, I’ll give you a shorter and more manageable guide to setting up your development environment for Multi-platform App UI (MAUI) in 2023.
I’ve helped several folks set up their macOS environment with this updated guide, and it should mostly apply to a Windows environment (outside of the OS-specific SDKs).
Installing the .NET SDK
The first and most obvious step is you’ll need to install the latest .NET SDK. Head over to https://dot.net and download the latest MAUI-supported SDK. As of writing this article, that is .NET 7.
The SDK is necessary as dotnet will install and manage MAUI workloads according to SDK version bands.
Once you’ve installed the .NET SDK, we’ll focus on the next important step.
Installing XCode for MAUI
You’ll need to install XCode, ensuring that MAUI supports the version of XCode you are installing. For .NET 7, the current version of XCode is 14.2.
I recommend installing XCode using the Apple AppStore, as it’s the more straightforward method. You’ll want to pick Apple SDKs for iOS and macOS when installed. Other SDKs for Apple Watch and Apple TV are optional.
Start up XCode and open the application’s settings. Next, you’ll need to navigate to Locations and ensure that Xcode is the correct value in the Command Line Tools select dropdown. If the dropdown has no value, be sure to select one. These tools help compile native assemblies for Apple device targets.

While you’re here, check your Platforms tab to ensure you have all the SDKs installed correctly.

You’re good to go with XCode.
Installing Xamarin.iOS and Xamarin.macOS
You’ll also want to install the latest Xamarin SDKs since MAUI still uses these. Visual Studio for Mac and Visual Studio ship these with each release, but you can install them without those apps. These SDKs also ship with JetBrains Rider’s plugins but can be outdated for MAUI development.
You can download the latest Xamarin.iOS and Xamarin.mac packages here.
You’ll only need the package for the environments you are targeting, but you’re already installing gigabytes of dependencies, so what’s a few more?
Installing MAUI Workloads
Important! Add a global.json file with the correct SDK band you’ll be building MAUI apps. For example, in the case of this guide, you’re working with .NET 7. So your global.json file should look like the following:
{
  "sdk": {
    "version": "7.0.0",
    "rollForward": "latestMajor",
    "allowPrerelease": false
  }
}
If you only have one SDK installed, you can skip this file. However, remember that you’ll need this file if you install any other SDKs.
Workloads include all the necessary assemblies and MSBuild targets that make building a mobile application possible for a given platform. For example, most developers will want to target iOS, Android, and Mac Catalyst.
Run the following commands in a new terminal. Note you’ll need elevated administrator permissions to complete this step.
sudo dotnet workload install maui
sudo dotnet workload install maui-android maui-ios maui-maccatalyst
sudo dotnet workload install ios android maccatalyst
sudo dotnet workload install wasm-tools
Once you install all these workloads, you can double-check that everything went accordingly using the command dotnet workload list. You can also find other workloads using the dotnet workload search command.
Installing Microsoft OpenJDK
You’ll need an OpenJDK installation to build and work with Android. I’ve found that Microsoft’s OpenJDK 11.0.18 LTS works best with MAUI. You can find the download here.
You might need to set the JAVA_HOME environment variable on your environment to point to the location of the newly installed OpenJDK. This step is optional if you use an IDE like JetBrains Rider.
This next step is to get Android SDKs configured.
Installing Android SDKs
This next step requires Android Studio, or if you’re a JetBrains Rider user, these same features also exist in that product. We’ll be using JetBrains products to install Android SDKs.
Note to JetBrains Rider users, you’ll need to install the Rider Xamarin Android Support plugin.
As a JetBrains Rider user, you’ll want to check your environments tab to ensure all environments are installed or recognized.

Next, under the Android section in JetBrains Rider (or Android Studio), you’ll want to install the SDK that matches your MAUI install. As of writing this post, that version is 33. Find the Install new button and walk through the installation.
Once completed, go back to the Android section and choose SDK Components. Here, you’ll select the following:
- Android 13.0 (Tiramasu) under SDK Platforms
- NDK (Side-by-side) under SDK Tools
When downloads and installation are complete, finish this process by ensuring the paths are set correctly on your Android settings page. This dialog is also where you’ll set the path to the OpenJDK 11 install from earlier.

Simulators and Emulators
For iOS, you’ll want to start your simulator at least once before trying any MAUI development. I recommend this step because the first time you boot an iOS simulator, it takes a minute to prepare everything. Start XCode, use the settings menu XCode > Open Developer Tool, and select “Simulator”.
In JetBrains Rider, this is the time to set up a new Android device emulator. Search for Device Manager and set up a new device. You can also choose to attach a physical Android device. That’s up to you.

You’ll need these virtual devices for testing your MAUI applications.
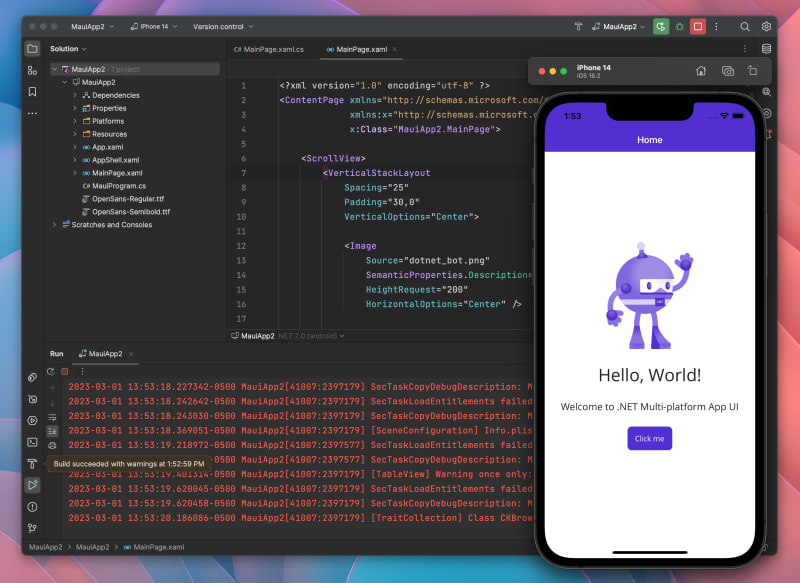
Your First MAUI App
Phew! We’re at the finish line! Yay! Hopefully, you followed every step meticulously, and I didn’t miss anything obvious. But, honestly, this is a lot to take in, especially if it’s your first attempt at mobile app development.
Now you can create a new MAUI app and run it in the environment of your choice.
If you get build errors, don’t panic. Remember, you need a global.json file to tie your new solution to the correct SDK version band. Scroll back up and use the same global.json file from the previous section.
Conclusion
Hopefully, I covered every step necessary to build iOS and Android MAUI apps in your development environment. Of course, if you’re on Windows, you might have different challenges, but most of this guide still applies to you for Android development. Of course, you’ll still need Windows workloads to target MAUI for Windows. Use the dotnet workload search to find the appropriate packages.
Anyways, if you found this post helpful, I’m happy for you. You got a working MAUI environment, and that’s no tiny feet. So take this time to bask in your success. You deserve it.
If you need help, you can find me on Mastodon or contact me through the form on this site. Cheers :)


